This was a post that I had started a while back and just never got to publishing, however it fits perfectly with my recent health journey and so I wanted to share my experience with making my own kombucha! The first time I tried kombucha was a few years ago when I moved to Los Angeles, I remember walking into Whole Foods and seeing this really interesting looking bottle on the shelf and thought I might as well give it a try. Then after doing some research and realizing all the benefits that kombucha has, I was addicted.
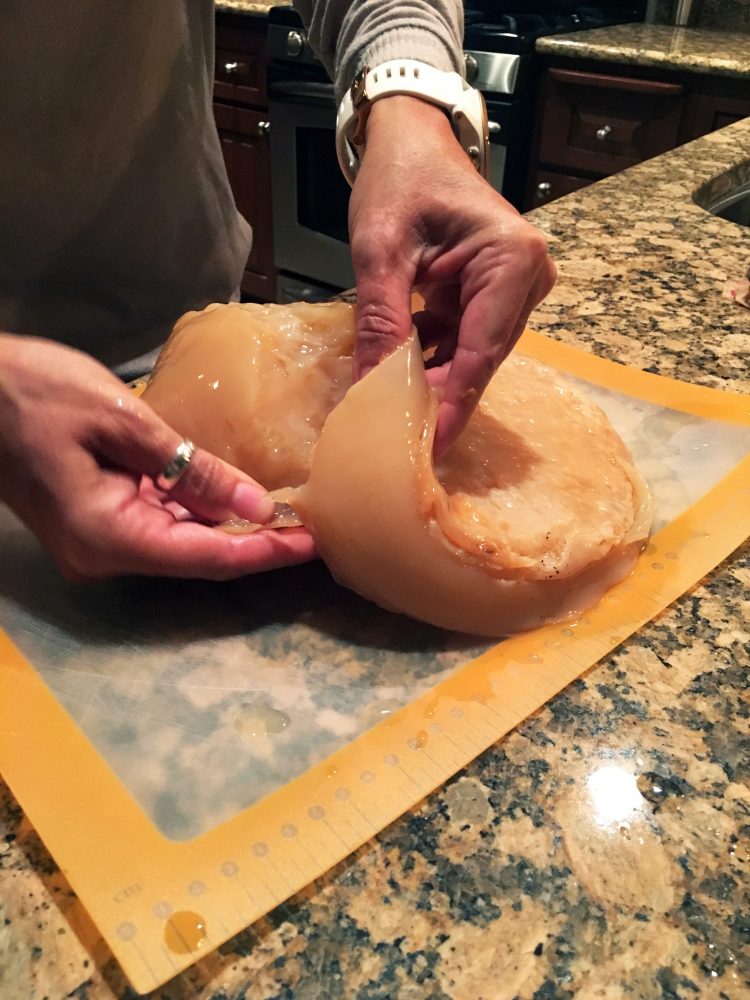
Fast forward to a trip back home we took early last year and my mother in law had started making her own kombucha. I had been a little weary to try it because I seem to kill anything I try to “grow”, but after breaking the bank each week on kombucha (which is already expensive as it is, but try being in California) I was considering my options. Right before we headed back home to California, she had to dispose of the majority of her scoby and offered to send me home with my own. The scoby is the “symbiotic culture of bacteria and yeast” that helps ferment your sweet tea brew and I’m not going to lie it does not look appetizing and kind of looks like it should be in a research lab. The scoby grows each time you make and add a new brew to your jar and hers had pretty much taken over the entire 2 gallon jar so she had to peel off some layers to make room. A lot of people can start their own brews by taking a layer of the scoby and transferring it to their own gallon jar and once theirs has grown they can pass it along to someone else that can then begin their own batch of kombucha. Kind of cool.
After much thought and deliberation of how I would actually get the scoby home I decided to at least try it. Now mind you, this baby scoby was in for the trip of it’s life, because it had to ride in a mason jar with all of it’s liquid in my checked bag on our flight back home and not break in my suitcase.

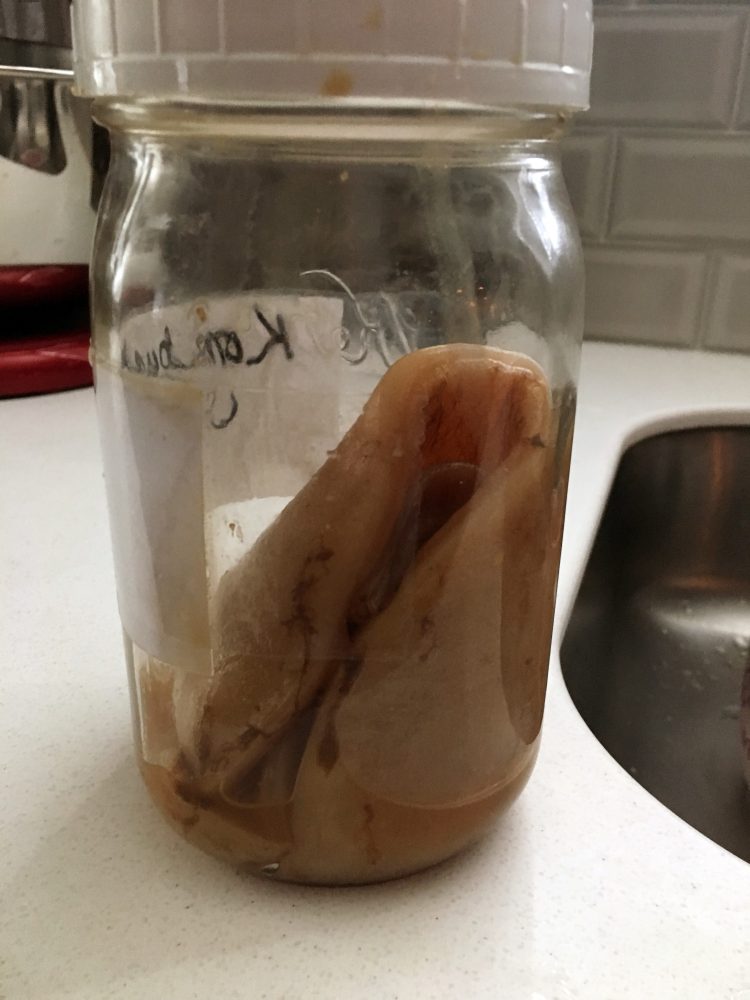

So as you can see the scoby jar is almost entirely empty of liquid, meaning it spilled out all over my suitcase. I wasn’t sure that the scoby would make it and that my new brew would be successful since having the original liquid is really important to start your new brew. I ran to the store immediately and got all of the items I needed to start, because I was going to at least attempt it. I brewed about 6 cups of black tea, let it cool and added raw cane sugar to sweeten the tea (this is what the scoby eats to grow and is part of the fermentation process). I transferred my scoby to the my 2 gallon jar of sweet tea and said a quick little prayer that it would survive. Lastly, I found a dark and room temperature place to keep my brew in, which just happens to be our guest room closet. Being in a dark place is very important since the scoby will not survive if it is in direct light for long periods of time. Thankfully no guests visited in the time my scoby was hiding in the closet or I would have had some explaining to do.
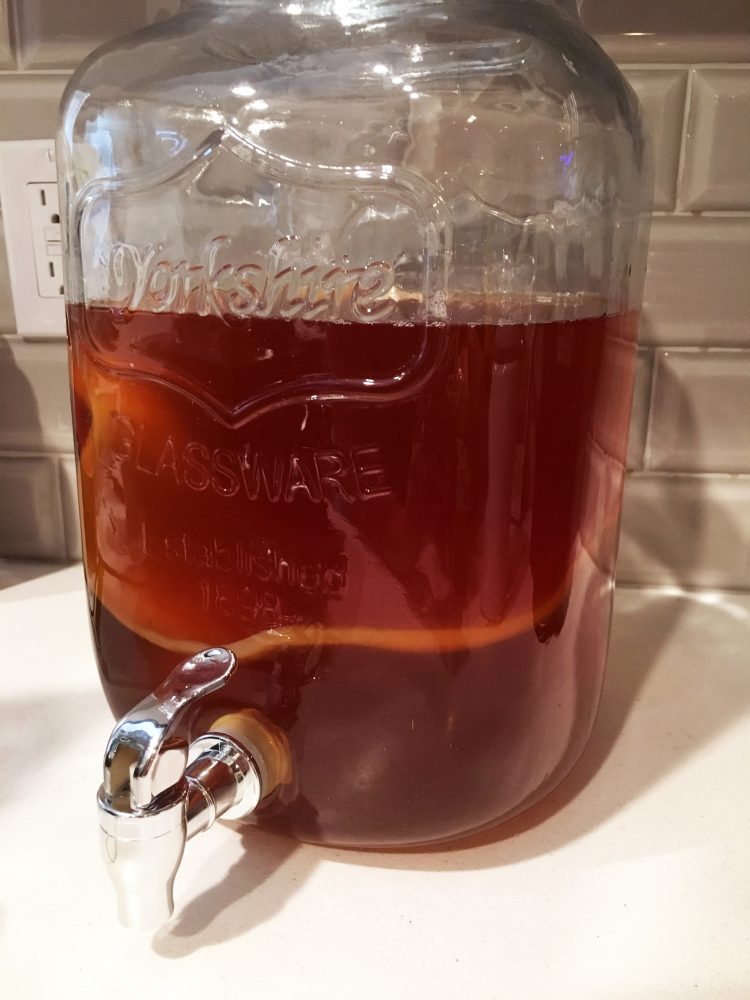


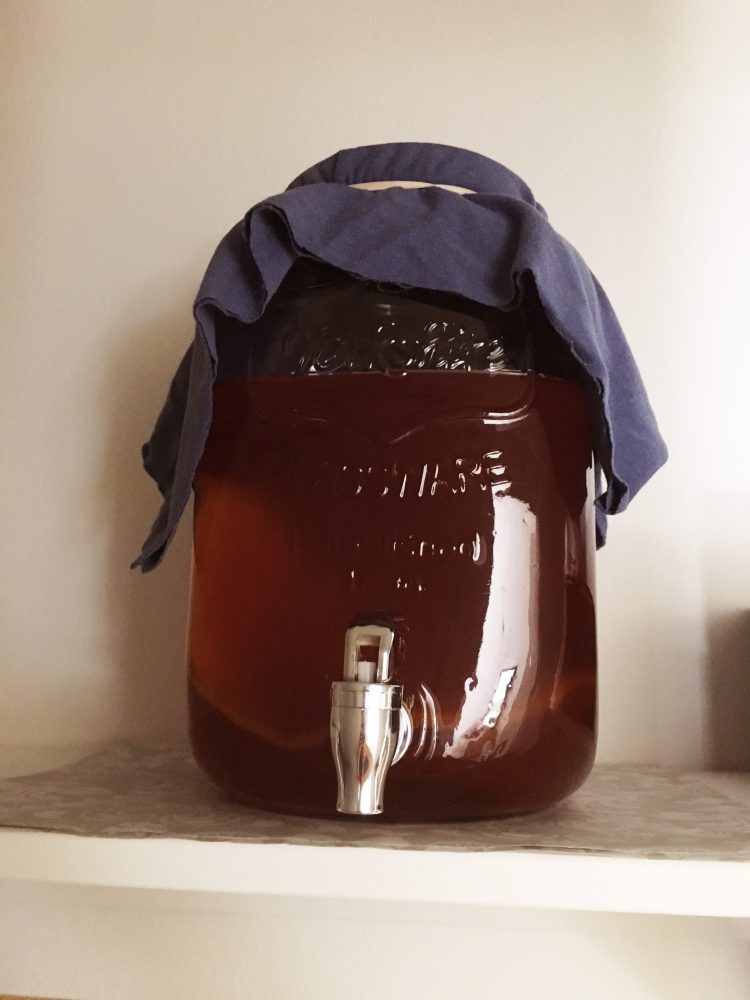
Once your brew is in it’s quiet, dark place you will leave it for about 2-3 weeks to ferment fully. I had a hard time leaving it alone for the first week, because I was concerned it wasn’t going to make it, so I kept peeking every day. About a week into it I took it out to see if I noticed any progress and this is what I found:
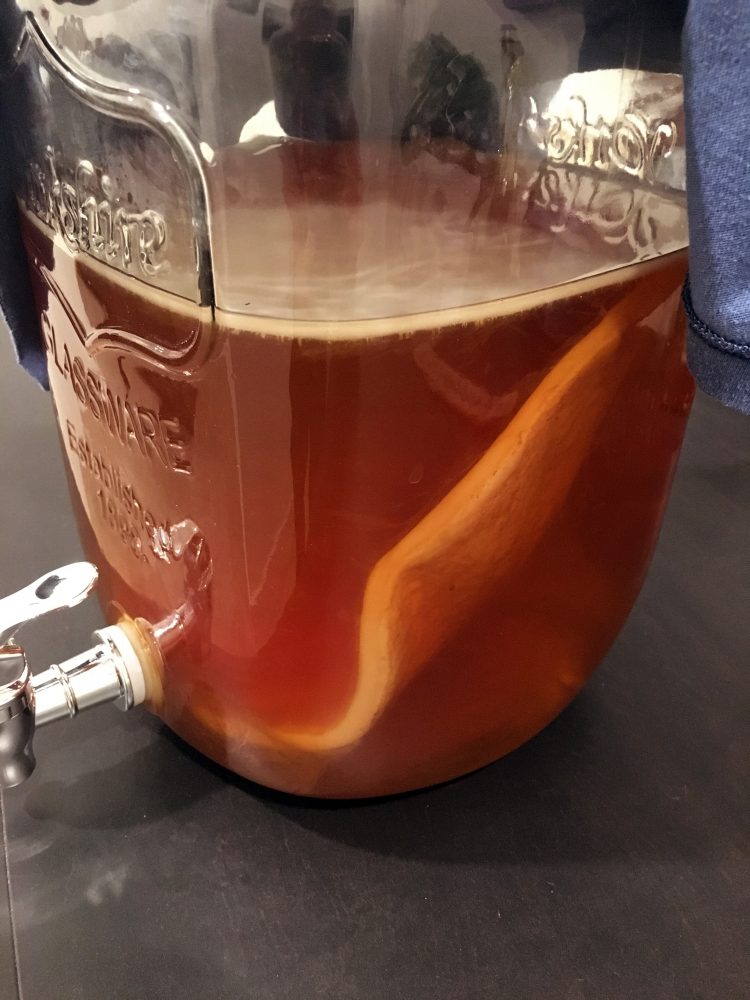
It had survived! And it was brewing exactly how it was supposed to. I was relieved that I hadn’t killed my first scoby and gently put it back so that it could continue to ferment. Fast forward to this week (about 2 weeks later) I have just been waiting for it to officially ferment to the taste I want. I like my kombucha really fizzy and when I tapped it about 4 days ago it was almost fizzy enough, but I wanted it to ferment just a little more. So now that it’s finally ready, part 2 of the process begins.
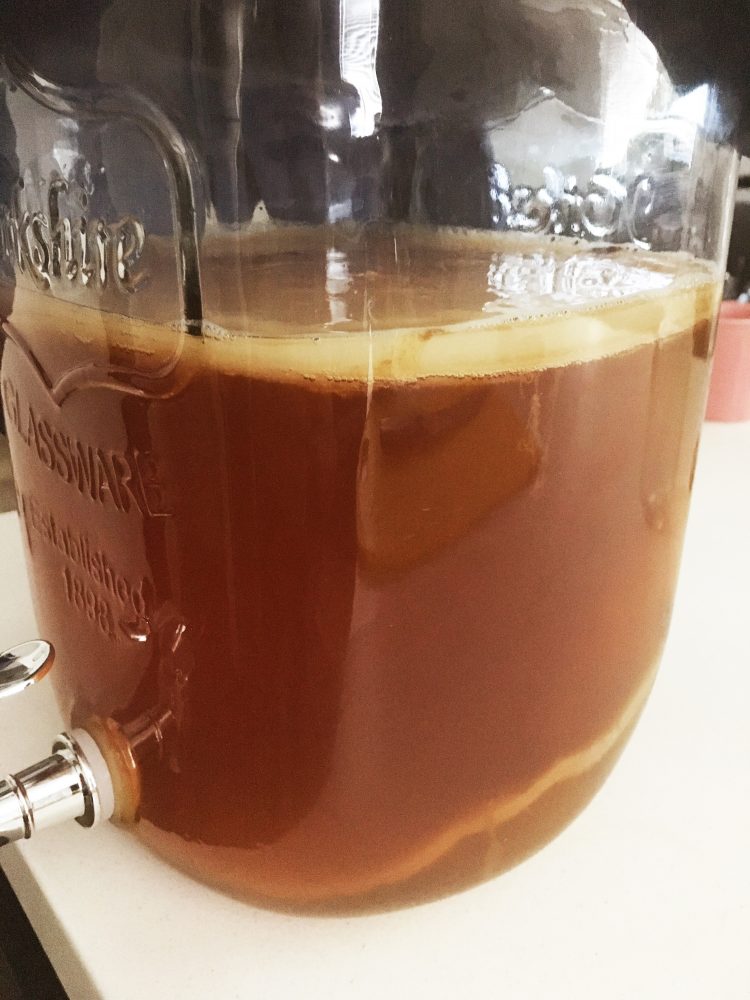
The layer of film on the top is the new scoby forming that will attach to the mother floating on the bottom once I add a new batch of sweet tea. I am emptying the liquid into a couple different mason jars and flavoring them with some berries and essential oils. These will go directly into my fridge and is the Kombucha I will be drinking.
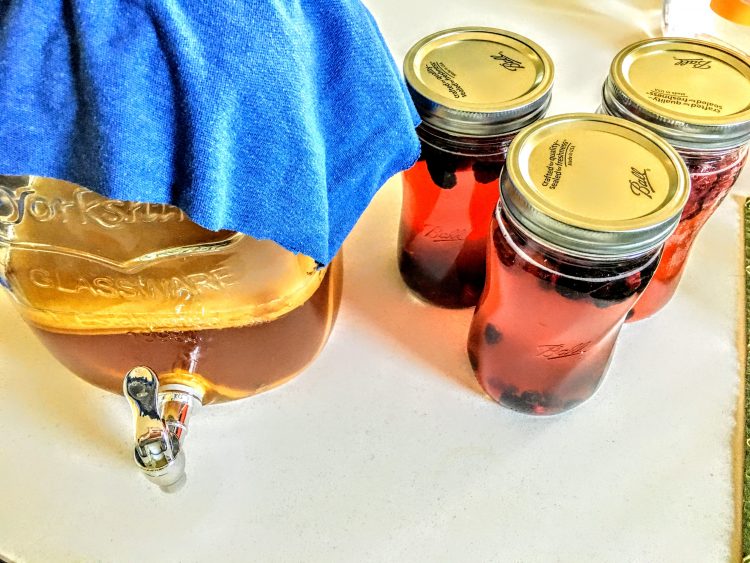
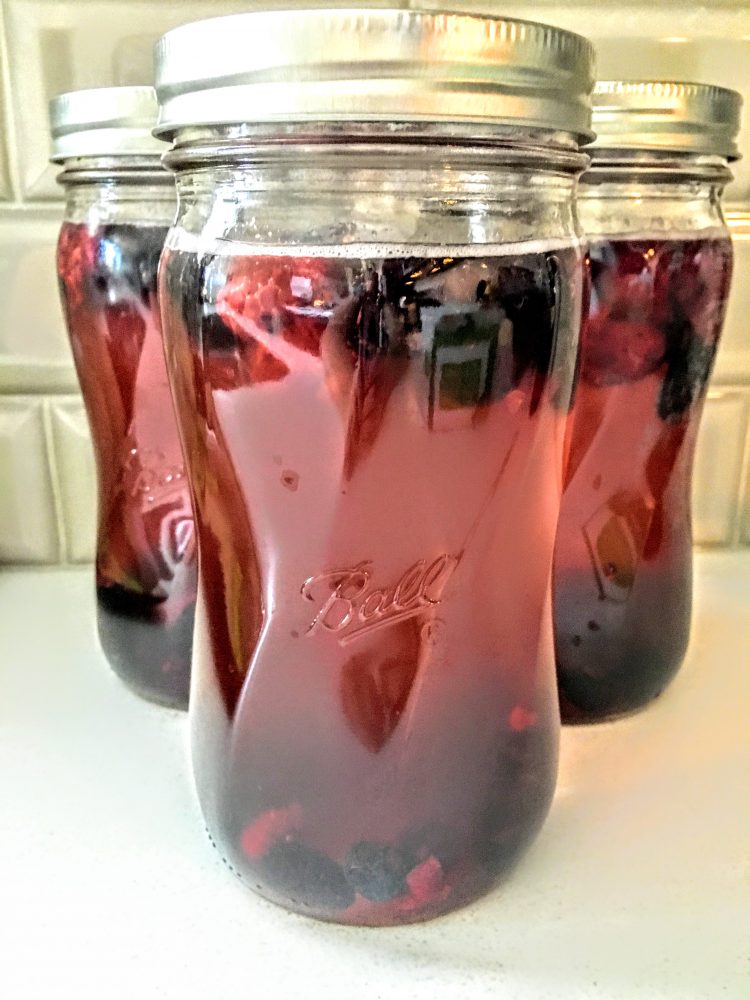
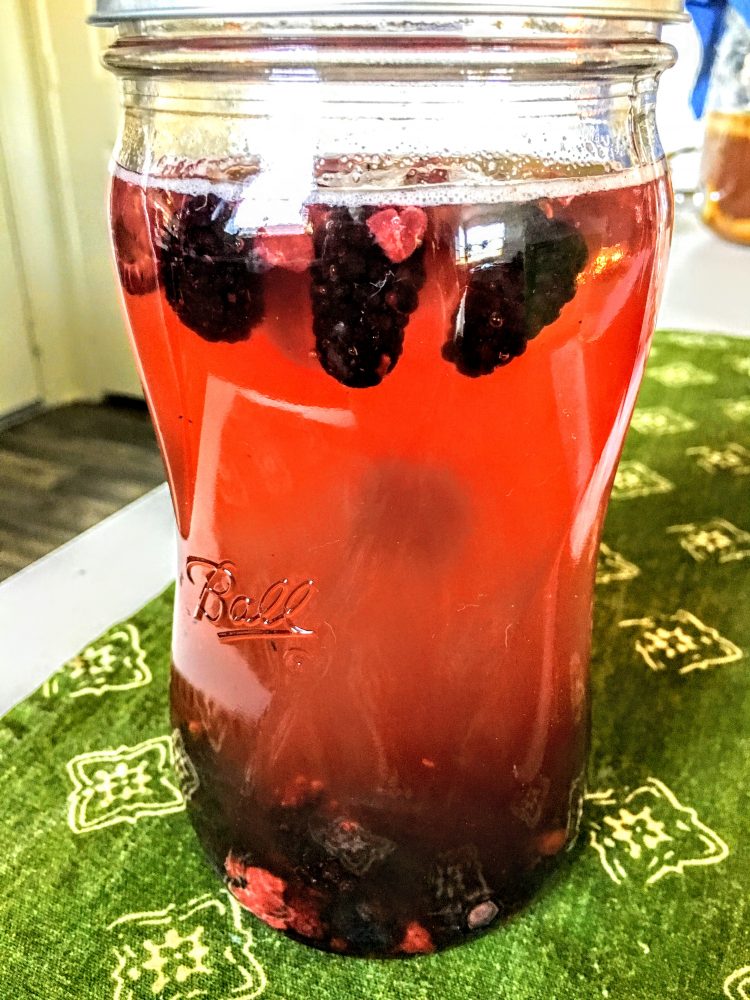
Update: I flavored these three brews with mixed berries (blackberries, raspberries, and blueberries) and for one I added some freshly grated ginger to try something a little different. It was delicious and I had a hard time not drinking an entire mason jar in one day. My experience with making my own kombucha has been great. It is so easy to do and much more affordable than buying kombucha from the store every day.
I hope you guys decide to give it a try, there are many places that you can get your own kombucha starter kit: ask a friend (like I did), get a kit from a local health food store, or order one online. Good luck!
lovellie


